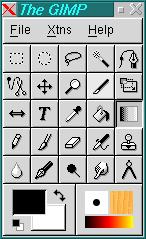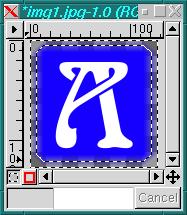
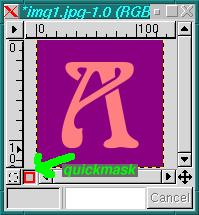
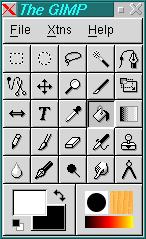
Click on the quickmask button -- the button at the lower left of the GIMP window with the red rectangle on it. You want a quickmask over the whole image.
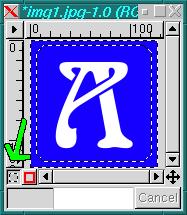
The quickmask appears as a reddish transparent layer.
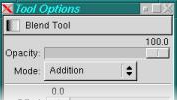
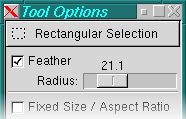
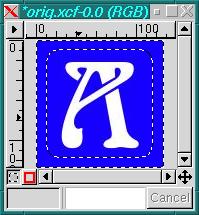
In the Rectangle Selection Tool Options dialog, check Feather and select your desired radius.
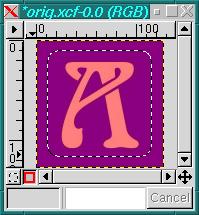
Then make your rectangular selection.
The goal is to paint on the border, not inside the rectangle.
Select->Invert, or ctl-I.
Which won't look white in the window, of course: you're painting on the quickmask to make that part of it disappear, not painting on the image.

The rectangle selection tool will only feature up to 100 pixels. If you want more of a fade than that, use one of the Blur tools.
Click on the funky little button just to the left of the quickmask button.
Edit->Clear, or ctl-K.
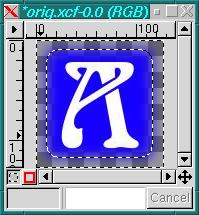
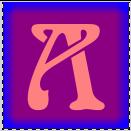
Save it as a png or some other format that preserves transparency.